
DISCLAIMER: You need to use UEFI for this to work! I may create a tutorial on how to achieve the same result with bios, but we’ll see.
We all know that the Windows 10 installation GUI is just filled with crap. “Privacy questions” that don’t change anything, and cortana trying to replace your mouse. Well, if you agree, doing everything the GUI does, yourself is a great solution. It is not as simple, but it is much faster and less painful. By following this tutorial, you’re going to achieve the same end result as a regular Windows installation. Why don’t we start now…
For partitioning our primary drive we’re going to use diskpart (‘diskpart‘). To open cmd.exe from the setup simply press Shift+F10. After that type ‘list disk‘ (See image below).
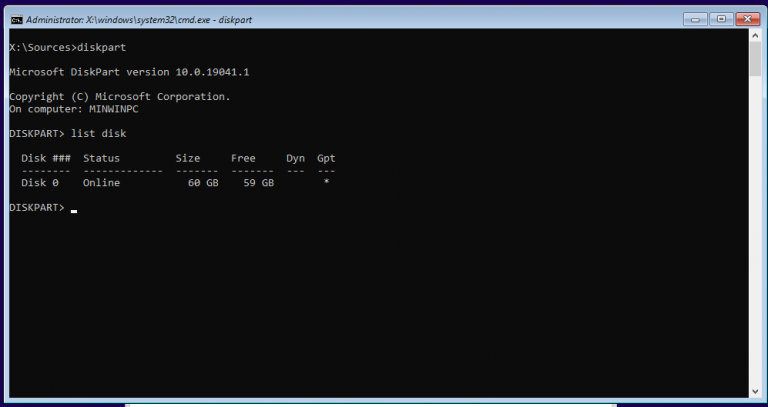
To select your Windows installation drive use: ‘select disk 0‘, and replace 0 with your “Disk ###”
Then, format the drive using “clean“, and convert it to gpt using “convert gpt“. Note that the command ‘clean‘ will ERASE EVERYTHING ON THAT SELECTED DRIVE.
The partition table is going to be the following:
| Id | Filesystem | Size | Role |
|---|---|---|---|
| 1 | Fat32 | 512MB | EFI Boot partition |
| 2 | NTFS | Rest | Primary partition |
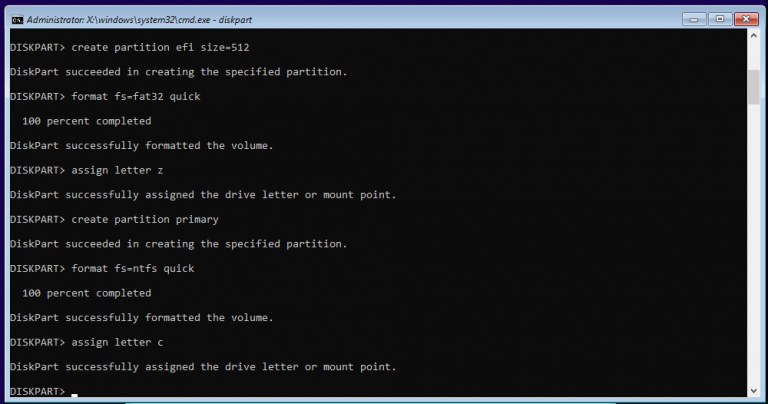
The commands we’ll use are the following:
create partition efi size=512
format fs=fat32 quick
assign letter z

create partition primary
format fs=ntfs quick
assign letter c
Now, exit diskpart using ‘exit‘.
To apply the wim file, navigate over to “D:\sources”. Then, use the following dism.exe command:
dism.exe /apply-image /imagefile:install.wim
/index:6 /applydir:C:
| Windows edition | Index |
|---|---|
| Windows 10 Home | 1 |
| Windows 10 Home N | 2 |
| Windows 10 Home SN (Single Language) | 3 |
| Windows 10 Education | 4 |
| Windows 10 Education N | 5 |
| Windows 10 Pro | 6 |
| Windows 10 Pro N | 7 |
| Windows 10 Pro Education | 8 |
| Windows 10 Pro Education N | 9 |
| Windows 10 Pro for Workstations | 10 |
| Windows 10 Pro N for Workstations | 11 |
You can use these indexes above in the dism command

This could take some time…
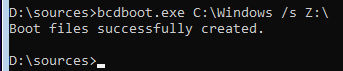
Remember the UEFI partition we made? Probably not… anyway, the install.wim file does not include neither the EFI files, nor the Windows Boot Manager. To generate these really important files, run the following command:
bcdboot.exe C:\Windows /s Z:\
From here, you could just boot into your new system, and follow the OOBE. We are not going to do that though. You know how annoying the OOBE is… well, we will completely skip it!
First of all, you need to open the registry editor. This can be done by executing ‘regedit.exe’. Now, navigate to HKEY_LOCAL_MACHINE and go to File->Load Hive. The file you are searching is over on C:\Windows\System32\config and is called SYSTEM. For the name you can really use anything, I used “sys”. Now go to sys\Setup and change the following keys to these values:
| DWORD Key | Value |
|---|---|
| CmdLine | cmd.exe |
Now, you’re ready to reboot… Just write ‘wpeutil.exe reboot‘
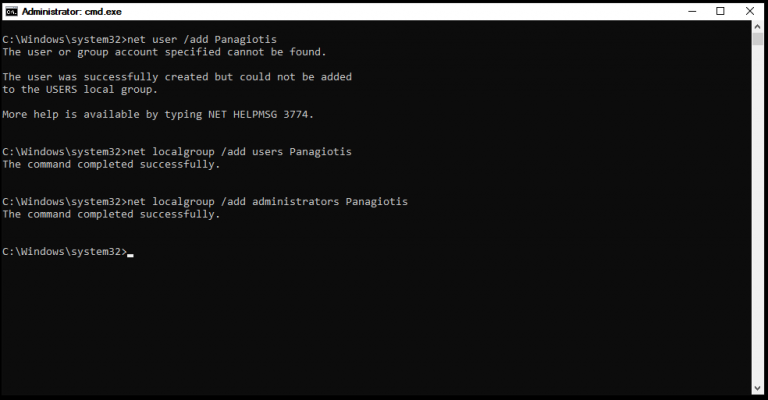
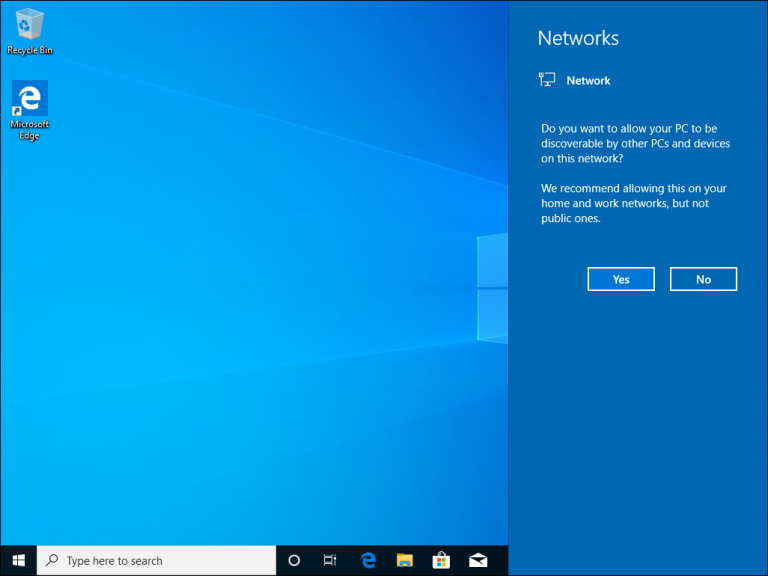
After the last step you’re going to end up on a cmd.exe window. Now, you need to instantly type ‘oobe\windeploy.exe‘ to load all the drivers. Create the required users like I did below:
Now, open the registry editor (‘regedit.exe‘), and change the following keys:
| DWORD Key | Value |
|---|---|
| OOBEInProgress | 0 |
| SetupType | 0 |
| SystemSetupInProgress | 0 |
After making the changes in the registry, close the cmd window. This will cause your computer to restart. After that wait excactly 20 seconds (yes, I found out it was the perfect timing) and forcefully reset.
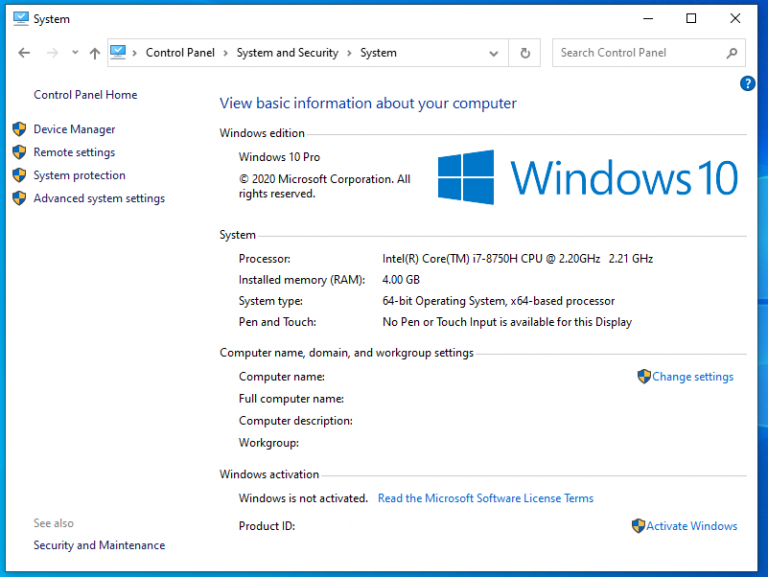
After the reboot, you will have a clean manual Windows 10 installation! Congratulations!
 Control Panel